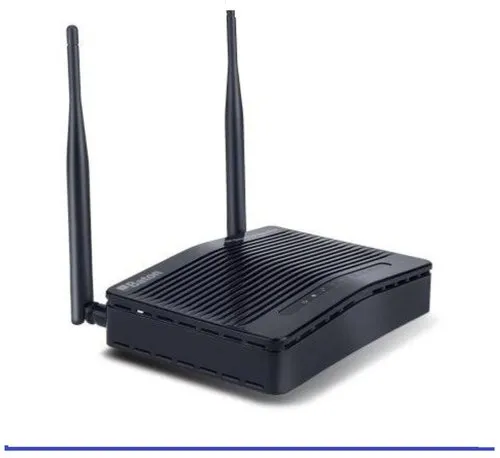
Setting up your WiFi router for Hathway broadband can be a daunting task if you are not familiar with networking and the configuration process. However, with a little bit of knowledge and patience, you can configure your WiFi router and enjoy high-speed internet connectivity seamlessly. In this article, we will discuss how to configure your WiFi router for Hathway broadband in detail.
Understanding Hathway Broadband
Before we dive into the configuration process, let’s take a moment to understand what Hathway broadband is. Hathway is one of the leading broadband service providers in India, offering high-speed internet connectivity to both residential and commercial customers. Hathway broadband uses different technologies, such as fiber-optic cables and coaxial cables, to provide high-speed internet connectivity to its customers.
Step-by-Step Guide to Configure Your WiFi Router for Hathway Broadband
Configuring your WiFi router for Hathway broadband involves a series of steps that need to be followed carefully. Here is a step-by-step guide that will help you configure your WiFi router for Hathway broadband easily:
Step 1: Gather Information
The first step in configuring your WiFi router for Hathway broadband is to gather all the necessary information. You will need the following information:
- Hathway broadband username and password
- IP address of your WiFi router like 192.168.8.1 or default ip address list.
- Default gateway address
- DNS server addresses
You can get this information from your ISP or from the documentation that came with your router.
Step 2: Connect Your Router
Connect your router to your PC using an Ethernet cable. Make sure your PC is connected to the router’s LAN port.
Step 3: Access Router Settings
Open your web browser and enter the IP address of your router in the address bar. You will be prompted to enter the login credentials for your router. Enter the username and password to access the router settings.
Step 4: Configure WAN Settings
Once you have accessed the router settings, navigate to the WAN settings section. Enter the following details:
- Connection type: PPPoE
- Username and password: Enter the Hathway broadband username and password
- MTU: 1492
Save the settings and apply them.
Step 5: Configure LAN Settings
Navigate to the LAN settings section and configure the following:
- IP address: Enter the IP address of your router
- Subnet mask: 255.255.255.0
- DHCP server: Enable
Save the settings and apply them.
Step 6: Configure Wireless Settings
Navigate to the wireless settings section and configure the following:
- SSID: Enter the name for your WiFi network
- Security mode: WPA2-PSK
- Passphrase: Enter a strong password for your WiFi network
Save the settings and apply them.
Step 7: Configure DNS Settings
Navigate to the DNS settings section and configure the following:
- Primary DNS: Enter 203.99.163.240
- Secondary DNS: Enter 203.99.163.241
Save the settings and apply them.
Step 8: Reboot Your Router
Once you have applied all the settings, reboot your router. Wait for a few minutes for your router to restart.
Congratulations! You have successfully configured your WiFi router for Hathway broadband.
Best Practices for Configuring Your WiFi Router
Here are some best practices that you should keep in mind while configuring your WiFi router for Hathway broadband:
- Change the default login credentials of your router to prevent unauthorized access.
- Keep your router firmware up-to-date to ensure optimal performance and security.
- Use a strong password for your WiFi network to prevent unauthorized access.
- Place your router in a central location to ensure optimal coverage and connectivity.
- Use WPA2-PSK encryption to secure your WiFi network.
- Disable WPS (WiFi Protected Setup) as it can be easily hacked.
- Limit the number of devices connected to your WiFi network to prevent overcrowding and slow internet speeds.
Troubleshooting Common WiFi Router Configuration Issues
While configuring your WiFi router for Hathway broadband, you may encounter some common issues. Here are some troubleshooting tips to resolve these issues:
No Internet Connectivity
If you are unable to access the internet, check the following:
- Ensure that your router is connected to the Hathway broadband modem.
- Check if the WAN settings are configured correctly.
- Check if your PC is connected to the LAN port of your router.
Slow Internet Speeds
If you are experiencing slow internet speeds, try the following:
- Reduce the number of devices connected to your WiFi network.
- Place your router in a central location to ensure optimal coverage and connectivity.
- Upgrade your internet plan if you require faster internet speeds.
WiFi Network Not Visible
If your WiFi network is not visible, check the following:
- Ensure that your router’s wireless settings are configured correctly.
- Check if your WiFi adapter is enabled on your PC.
- Check if your router is broadcasting the SSID.
Conclusion
Configuring your WiFi router for Hathway broadband is essential to enjoy high-speed internet connectivity seamlessly. With the step-by-step guide and best practices mentioned in this article, you can configure your WiFi router for Hathway broadband easily. Remember to keep your router firmware up-to-date and use a strong password for your WiFi network to ensure optimal performance and security.
FAQs
- What is the default IP address of a WiFi router?
- The default IP address of a WiFi router is usually 192.168.1.1 or 192.168.0.1.
- How can I change the default login credentials of my router?
- You can change the default login credentials by accessing the router settings and navigating to the security settings section.
- Why is my WiFi network slow?
- Your WiFi network may be slow due to overcrowding, interference, or a slow internet plan.
- How can I secure my WiFi network?
- You can secure your WiFi network by using WPA2-PSK encryption and a strong password, disabling WPS, and limiting the number of devices connected to your network.
- Can I configure my WiFi router without a PC?
- No, you need a PC to configure your WiFi router.


