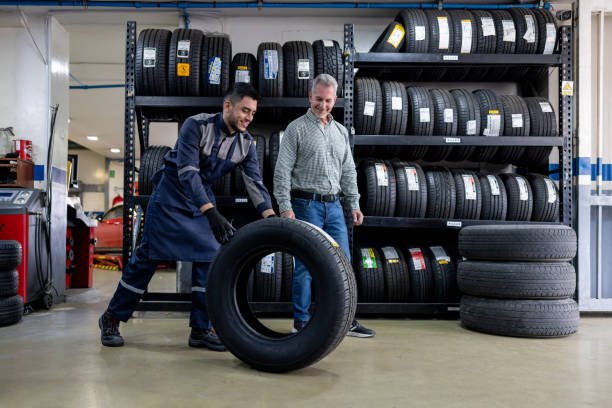
Dealing with a tyre puncture can be a frustrating experience, especially when you’re in a hurry. Understanding the basics of tyre puncture repair is essential for every vehicle owner. Not only does it save you time, but it can also save you money compared to taking your vehicle to a garage for what is often a simple fix. Knowing when to repair a puncture and the proper techniques can help you get back on the road quickly and safely.
When you experience a tyre puncture, it’s crucial to assess the damage first. Many punctures are repairable, particularly if they are located in the tread area and are smaller than 6mm in diameter. A tyre puncture repair kit can be a lifesaver in these situations, allowing you to make quick fixes. These kits typically contain essential tools such as puncture sealant, a reamer tool, and a plug insertion tool, making them invaluable for any car owner. It’s advisable to familiarize yourself with the use of these tools before you encounter a puncture.
How to Identify a Puncture
Identifying the source of a flat tyre is the first step in the repair process. If you notice your tyre losing air pressure, inspect the tread and sidewalls for visible damage or objects lodged in them, such as nails or screws. It’s also wise to check the valve stem, as leaks can occur there too. If the puncture is not immediately apparent, submerging the tyre in water can reveal air bubbles, indicating the location of the leak. Knowing how to identify a puncture can help you determine whether it’s worth attempting a DIY repair.
DIY Tyre Puncture Repair Steps
If you decide to tackle the repair yourself, here’s a simple step-by-step guide for tyre puncture repair. First, ensure you have the right tools and materials. You’ll need a jack, lug wrench, tyre repair kit, and possibly a compressor if you need to reinflate the tyre after repair.
- Remove the Tyre: Use the jack to lift the vehicle and the lug wrench to remove the wheel nuts. Always ensure the vehicle is on a stable surface and secured with wheel chocks.
- Locate the Puncture: Check the tyre thoroughly to locate the puncture, as mentioned earlier. Mark the spot for easier identification during the repair.
- Prepare the Puncture: Clean the area around the puncture using the reamer tool from your repair kit. This step helps to create a rough surface for the sealant to adhere better.
- Insert the Plug: Take a plug from the repair kit and insert it into the puncture with the insertion tool. Make sure it’s snugly fit to prevent any leaks.
- Trim Excess Material: After inserting the plug, trim any excess material sticking out of the tyre to ensure a smooth finish.
- Reinflate the Tyre: Use your compressor to reinflate the tyre to the recommended pressure. Make sure to check for leaks again by submerging the tyre in water or using soapy water to spot bubbles.
- Reattach the Tyre: Once you’re satisfied with the repair, reattach the tyre to the vehicle and lower it back to the ground. Tighten the lug nuts in a star pattern to ensure even pressure.
- Test the Repair: Take the vehicle for a short drive to check if the repair holds and the tyre maintains the correct pressure.
When to Seek Professional Help
While tyre puncture repair can often be a straightforward DIY task, there are times when it’s better to seek professional assistance. If the puncture is located on the sidewall or if the damage is too extensive, it’s best to have a professional assess the tyre. Additionally, if you’re not comfortable performing the repair yourself, don’t hesitate to call a roadside assistance service. Remember, safety should always come first.
Conclusion
Understanding the fundamentals of tyre puncture repair can empower you as a vehicle owner, making you less dependent on garages for minor issues. With the right tools and knowledge, you can quickly address punctures and save both time and money. Always keep a tyre repair kit handy, and familiarize yourself with the repair process to ensure you’re prepared for any eventuality on the road. Whether you decide to DIY or consult a professional, staying informed about tyre maintenance will lead to a safer driving experience.


